Click a photo to embiggen |
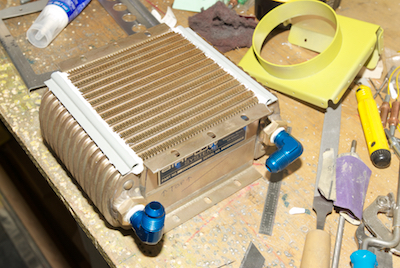
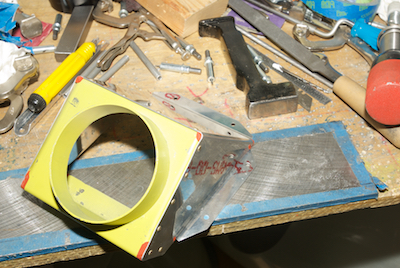
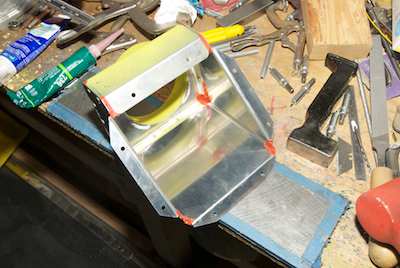
The oil cooler needed preparation before it was installed. The fittings have been attached and clocked in the first picture. The second picture shows some rubber gasket material that has been attached with silicone adhesive to create a seal between the cooler and the vent that will attach to it. Pictures three and four show that vent after it has been assembled and all the holes plunged with RTV.
|