|
|
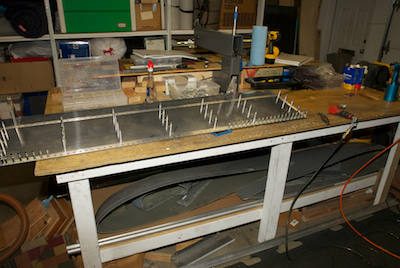
The leading edge skin was riveted on next with pop rivets so that went very quickly. I don’t have pictures of that. I also don’t have pictures of the bottom skin and leading edge common rivet line getting done. That is a little tricky because you have to get your hand between the two skins - which aren’t real wide apart - to hold the bucking bar. It is a process that you just have to take slowly but it is not a lot more difficult. Then it’s time to do the double flush rivets on the trailing edge. This is just like all the other trailing edges and it went very well. I work from the center out and I got a nice straight line along the trailing edge. I have no more trailing edges to do on the plane, they all came out great.
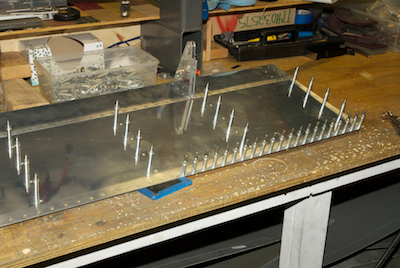
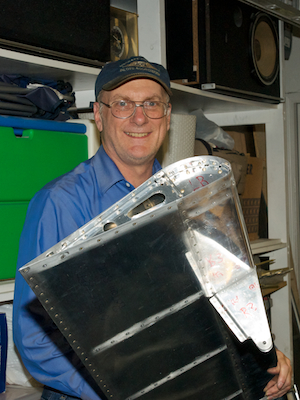
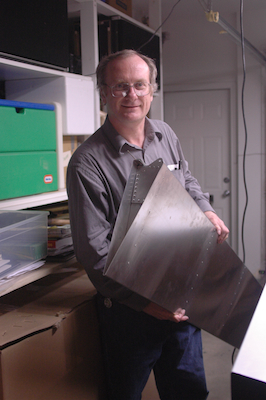
The bottom skin then gets riveted on with pop rivets and squeezed rivets on the inboard and outboard ribs. Very quick and simple so no pictures. To commemorate the completion of the flaps, I had Kathy take a picture similar to the one she took of me when I finished the flaps on the Sonex. The flap was the first piece I made on the Sonex so that was quite a milestone. Now I have a second set of flaps for a second airplane.
|