|
|
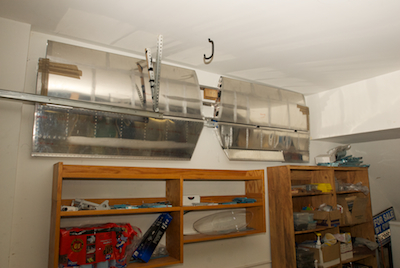
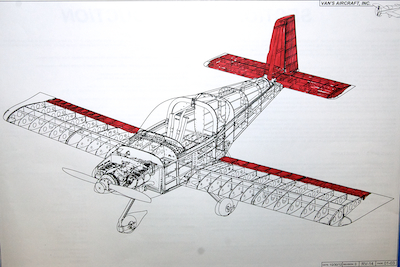
A couple of things needed to be done before starting on the tanks. One was finding space to store all the accumulating pieces. I had stored the horizontal stabilizer on the garage wall but the elevators were in my room. After I finished the flaps I had no good place to store them, so I took the elevators out of my room and reused there storage spot for the flaps. Then I did a quick install of the elevators onto the H stabilizer and hung them together on the wall in the garage. Looks great and they are out of the way for a long time. Getting there was nerve racking. I had to take down the shelving on the wall and move one of the floor standing shelving units. Then I taped the elevators to the H stabilizer in the neutral position. Kathy and I then carefully raised the now heavy unit into place without contacting the garage door supports. That was after trying to do it several times without the tape and the shelving all in place. I then took the structural drawing in picture two out of one of the instruction manual chapters and used it to indicate progress by filling in the completed pieces with a red marker. With the Sonex, there was a master page to the plans that showed all the plans pages in a flowchart layout and it was easy just to highlight each plan page as it was completed. I hung the master page on the garage door and it was great motivation to knock off each plan page and especially so when I finished an entire branch of the flowchart.
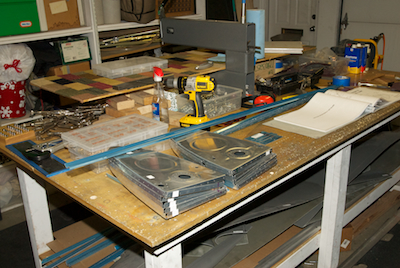
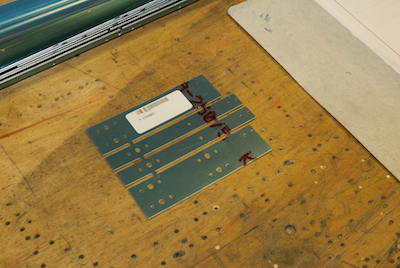
With those details out of the way, I started fishing out all of the pieces required for the fuel tanks. The second picture below shows the first of several pieces that are stamped out as a unit and then cut apart.
|