|
|
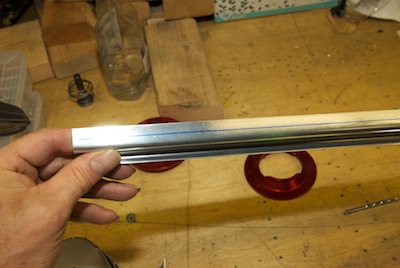
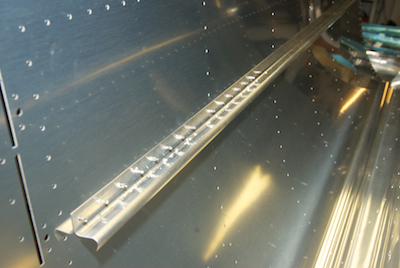
Next up, a blast from the past. I’ve noted before how much more complete the kit is than the 2006 version of my Sonex kit. I have had to do very little match drilling or drilling of holes to final size compared to the Sonex. The previous page showed a bunch of angles that are used as stiffeners between ribs. All I had to do was cut them apart, do some trimming, clean up the edges and they are almost ready to go. The holes are all in place and final size. They could be clecoed in place. The piece in picture one is more like what the Sonex kit was like. Some formed stock that you have to cut to length and then locate all the holes using the skin as the drilling template. In this case, the material is J channel and it is a piece of stiffener stock that seems to be ubiquitous in all the earlier RV kits. It is not material unique to the 14 - or any other RV - so there are no pre drilled final sized holes. The technique used is simple and I did it hundreds of times on the Sonex. Draw a blue sharpie line on the piece to indicate where the holes should be and then clamp it to the sheet it attaches to and start drilling, making sure the blue line is centered in the hole you are drilling. In this case, the plans specify where to drill a locating hole in the J channel, so when you cleco that hole to the skin, the piece will be in the correct location.
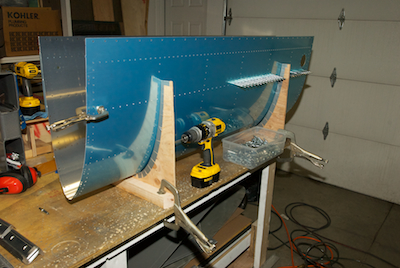
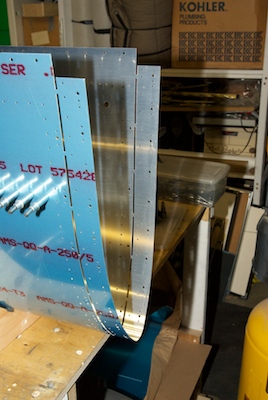
The first picture shows the piece in place with about one third of the holes drilled. The second picture below shows a small strap that is attached to the tank skin. That piece gets cut off at the tabs and will become a strap that attaches one side of the tank to the other leading edge piece. The tank is wet wing design. That means, the outside of the skin is the outside surface of the wing skin. It is simply a section of the leading edge that has been constructed internally a little differently than the rest of the leading edge, and sealed so it won’t leak.
|