|
|
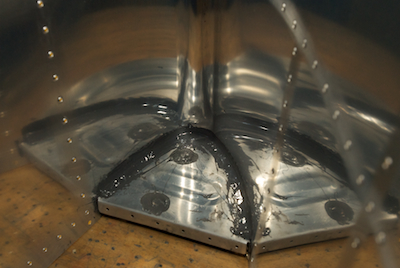
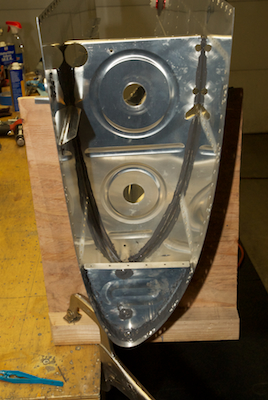
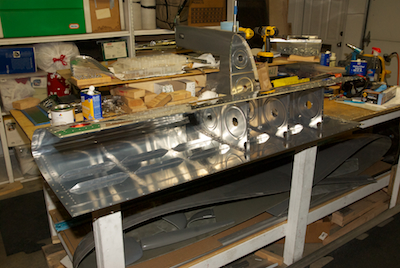
Then it is time to start installing the ribs, starting with the inboard partial rib. The inboard and outboard ribs get a heavy bead of sealant around there edges.
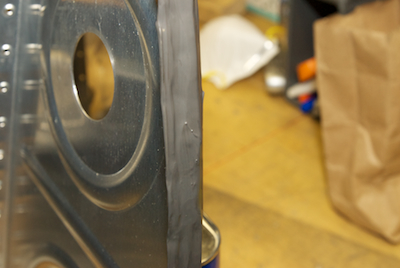
The first picture below shows a layer of sealant on the flange of a rib before going into the tank. Unfortunately, I found it quite difficult to concentrate on installing the rib and taking pictures so there are no pictures of the process. Basically, after the rib was buttered up, I slide it in place and attached it with clecos in every other hole. Every hole near the nose of the skin. Then, no more than a few at a time, I put some sealant in the hole, inserted the rivet and bucked it into place. The end rib rivets could be squeezed by all the others were bucked. I then took out a small group of clecos, cleaning each as I took it out and then riveted those holes following the steps above. After I was done with a batch of sealant, I went back and cleaned up the areas of sealant that got into the J channel area and the baffle area.
|