|
|
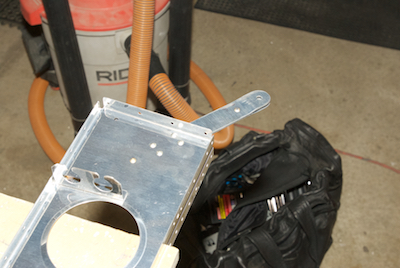
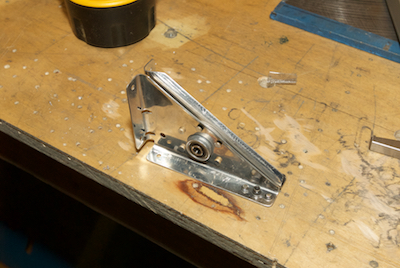
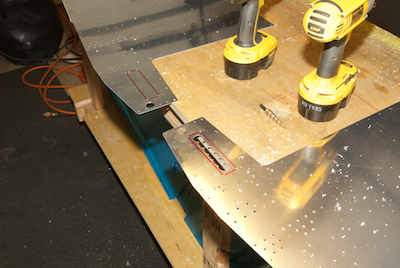
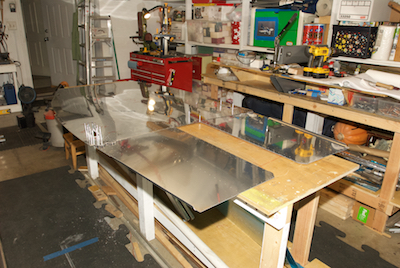
The first picture shows one of the seat belt attach flanges being fitted to one of the baggage floor ribs. The second pictures shows a pivot that will be attached to the rear spar carry through for the elevator controls. I’m building an RV-14A. In Van’s nomenclature, the ‘A’ means it is the nose wheel model of the aircraft, a trike. If it was just and RV-14 - no ‘A’ - it would mean a tail wheel model. Because of that, there are some slight differences in how you build the fuselage. The kit can be made either way at this point. One of the differences is shown in the last two pictures. There are three skins that make up the fuselage floor, two front pieces and one rear piece. The rear piece already has rectangular openings on the left and right side for trike gear legs. The two front pieces, which overlay the openings do not. If you build the taildragger you leave the skins as they are and the rectangular holes are covered up. In my case, I have to use the rear piece as a template to locate and then cut out the holes so the gear legs can penetrate the floor. That is in process in the last two pictures. The taildragger front legs mount to the engine mount at the firewall so they don’t need to penetrate the floor.
|