|
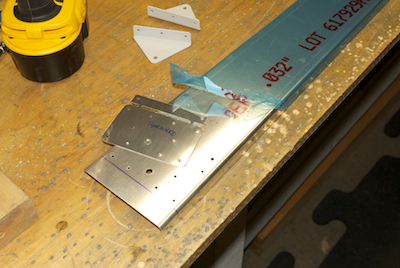
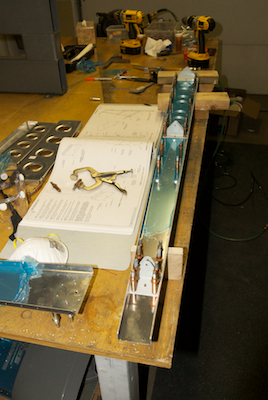
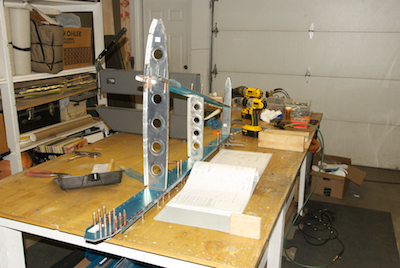
Kathy’s schedule has been really tight so I actually have been working alone starting with the vertical stabilizer (VS). I got a couple of minor things done to start before Thanksgiving. Over that holiday I worked with Kathy on the toolbox kit. Then I started to make progress on the Vertical Stab. The first two pictures are step one in the manual. You attach a doubler to the VS front spar, match drill the holes, do some trimming to the two pieces and rivet them together. The first picture shows a clever bit of manufacturing. The doubler has a top portion that is attached via two small stubs to the bottom portion. You cleco the whole piece to two pre-drilled holes in the front spar that serve as alignment holes. Then you match drill the holes in the bottom portion and mark the bottom of the doubler on the front spar, remove the doubler and cut off the top portion of the doubler and the bottom portion of the front spar, which are now scrap. I think this is done on purpose to introduce you to several concepts builders may not be familiar with, match drilling and separating pieces that can be manufactured together. Many pieces in the kit are clearly made in one die for manufacturing convenience and then split apart or trimmed by the builder. This kit has also been just released so I have been looking out for changes that may get issued. As it turns out, I built per the plans, which call for countersinking the bottom row of flush rivets in thin stock. The day after I assembled this, I found a change to the plans had been made to eliminate the countersinks and just dimple. Would have been easier but was not a problem for me. The last two picture show the final drilling of the rear spar and attachments along with the final drilling of the VS frame.
|