|
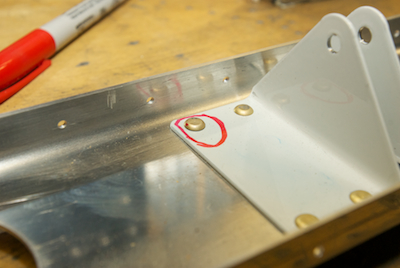
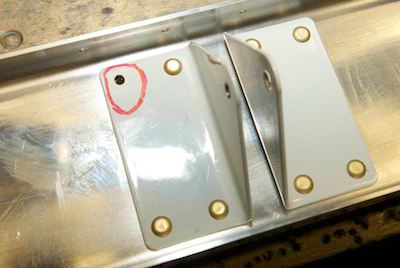
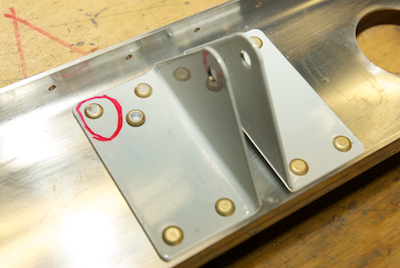
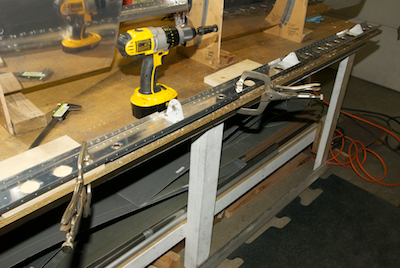
The last piece to attach is the rear spar. In the last picture on the previous page, you can actually see it sitting in place as I gave it a trial fit. However, it still needed work so I took it out. When I was doing a final double check of the piece, I noticed that one of the rivets heads had not seated up tight against the bracket. If you look at the enlarge view of the first picture you can see that there is a small gap. A good test for rivets if you have a gap is to see if you can get a thin feeler gauge to go under the head and reach the rivet stem. If so that rivet is no good. I checked this with a piece of paper that went all the way to the stem, all around the head. So I drilled it out and replaced the rivet. The process of double checking rivet heads and tails is just something that goes along with airplane building as tiny mistakes can go unnoticed at first. I found on the Sonex that my error rate was pretty low but it was not zero. So far, the error rate for riveting on this plane has been very low, but again not zero. On the positive side, drilling out aluminum bucked rivets is a dream compared to drilling out stainless steel pulled rivets. The last picture is just the finishing up of drilling all the countersinks.
|