Click a photo to embiggen |
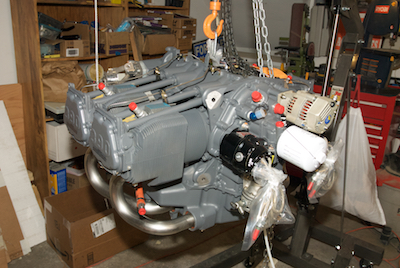
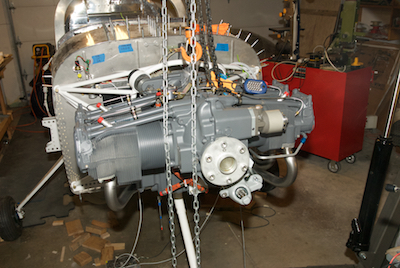
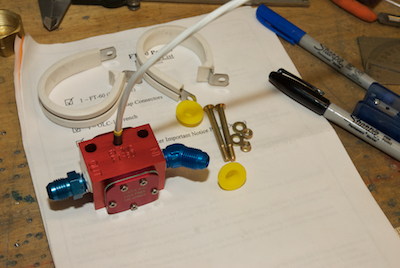
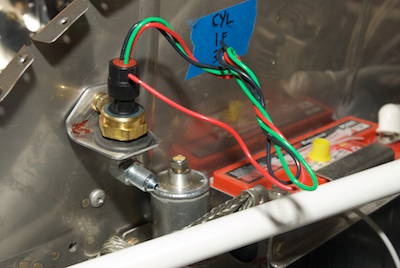
The actual attaching of the engine took place just before the second picture was taken. I don’t have any pictures of the actual fitting of the rubber mounting bushings and bolts as I got absorbed in the process of installing it correctly and didn’t think about any pictures until after it was done. As it turns out, I realized I had put the rubber bushings on one side in backwards and had to do it again. It was actually not as difficult of a job as I had expected from stories I had heard about trying to attach to a dynafocal mount. All four bolts mount at an angle that point to a point in space near the nose of the engine and the rubber bushings need to be compressed some for all the holes to line up perfectly. As many have suggested, it seems to work best by attaching the bottom two first and then the top two. I was able to move the engine up and down as needed in small amounts with my chain hoist and a little shoulder push to get all four bolts in. I even did it twice since I had to change out the bushings. The bushings each come in a pair and each pair has one hard and one soft durometer rubber bushing. The hard one needs to be in compression, so on the bottom it is the one between the engine and the mount. The top mount attach points have the hard one on the back of the mount. In the second picture you can see the upper right mounting point with one bushing between the mount and the engine and the other behind the mount bracket. With engine on I started to attach other things to it and the firewall. The first item is the fuel flow meter before installation and the second picture of is the manifold pressure gauge.
|