|
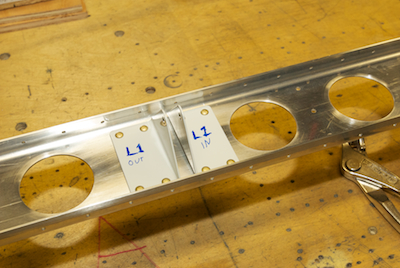
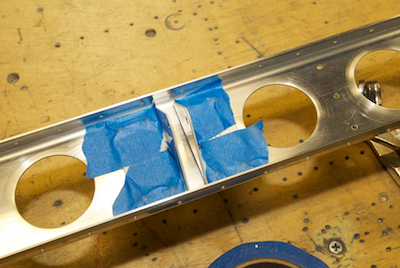
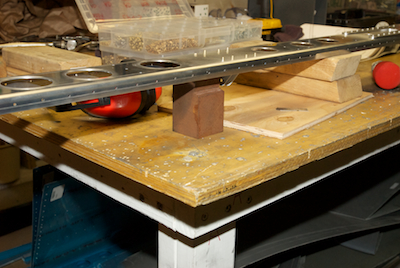
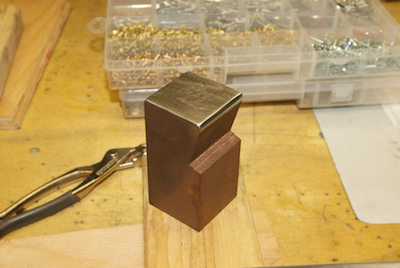
After the doubler you install brackets which will attach to the elevator. I thought I would show once more a detailed series of pictures about the back riveting process as these are not normally back riveted by RV builders. Just like the flush head rivets that RV builders do back rivet, you put in the rivets and then hold them in place with tape. Again, I just use blue painters tape instead of rivet tape. It works just fine. Then I support the piece with wood blocks so that the rivet will rest nice on the bucking bar. In picture three, notice that the bucking bar is placed directly over the beefy table leg. This gives a nice backing for the rivet bar. I also clamp a couple of pieces of wood around the bucking bar to keep it from moving (not shown). This set up is very similar to the Sonex spar cap riveting that the bar was made for. On the Sonex, the indentation allows for the bucking bar to snuggle up to the inward facing flange of the spar cap to buck the rivet. This spars flanges angle in but not as much as on the Sonex spar cap, but it helps get closer to the edge, making sure you have plenty of surface area under and around the rivet head during bucking.
|