Click a photo to embiggen |
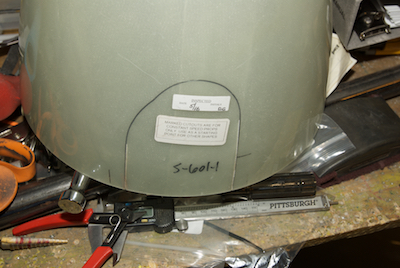
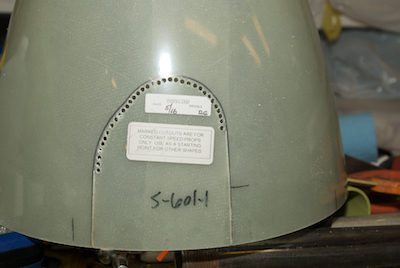
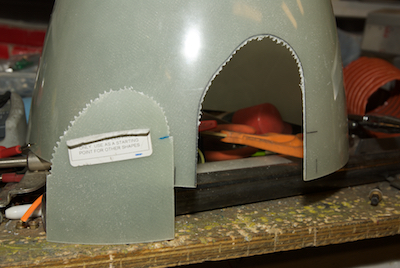
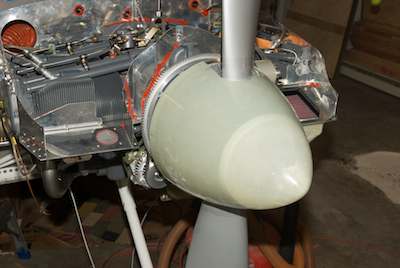
After the prop goes on you can then fit the spinner. The process is well documented in the plans and the spinner comes with pre-marked areas needing to be cut out that give a good starting point for clearing the prop blades. In picture one I have sawn with a fine xacto saw blade the straight portions of the cut. Then I drilled holes around the curved portion and snipped out the connecting pieces. These pieces are retained and turned into other parts of the spinner. After wrapping the prop blades where the spinner will go with tape for scratch protection, I slid the spinner on and began the steps to prep it for attaching.
|